
I have to be honest with you—this peanut butter bars recipe is something I keep coming back to whenever I crave a sweet treat but don’t want to spend hours in the kitchen.
I first tried this idea when I wanted something quick, chocolaty, and peanut buttery at the same time. Guess what? It turned out so good that now I can’t stop making it.
And trust me—you’re going to love this recipe too. It’s easy, no fancy skills needed, and the taste? Pure heaven.
Why You’ll Love These Peanut Butter Bars
Let’s start with why this recipe is worth your time. These bars are:
- No bake – no oven drama, just mix, chill, and eat.
- Quick – done in less than 20 minutes (plus some chilling time).
- Rich and creamy – peanut butter lovers, this is your dream.
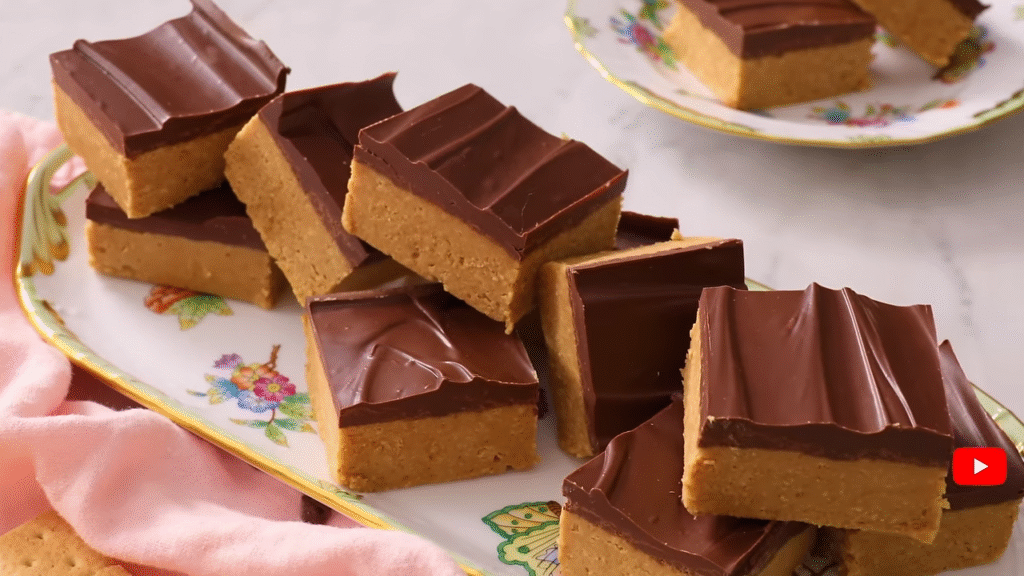
- Perfect balance – sweet chocolate on top, smooth peanut butter at the bottom.
If you’re like me and always want a sweet snack after dinner, these bars will save you.
Ingredients You’ll Need
The best part? You only need simple pantry items. Nothing fancy. Here’s what you need:
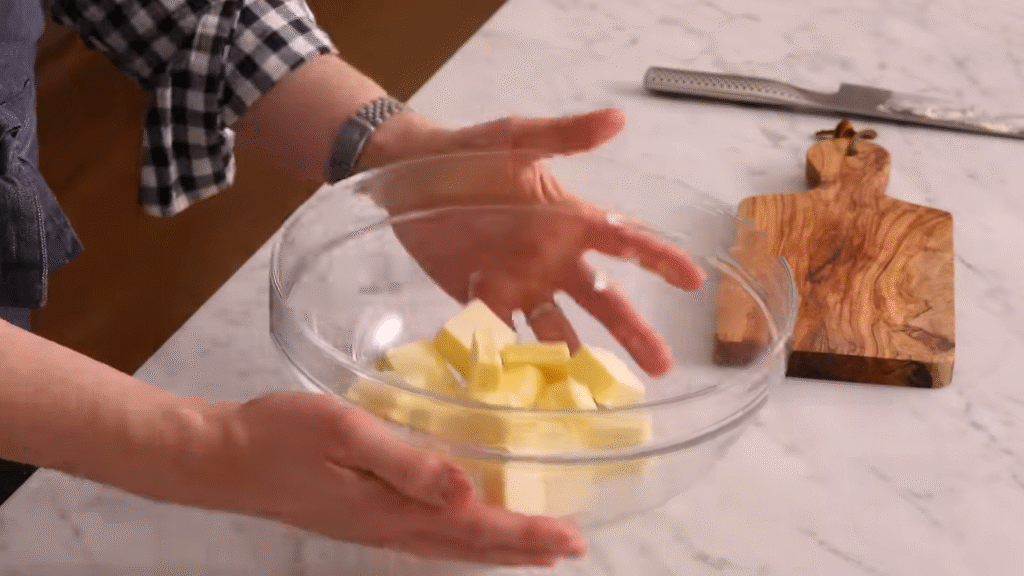
- 1 cup peanut butter (smooth or crunchy, your choice)
- ½ cup melted butter
- 2 cups powdered sugar
- 2 cups graham cracker crumbs (or digestive biscuits if you’re outside the US)
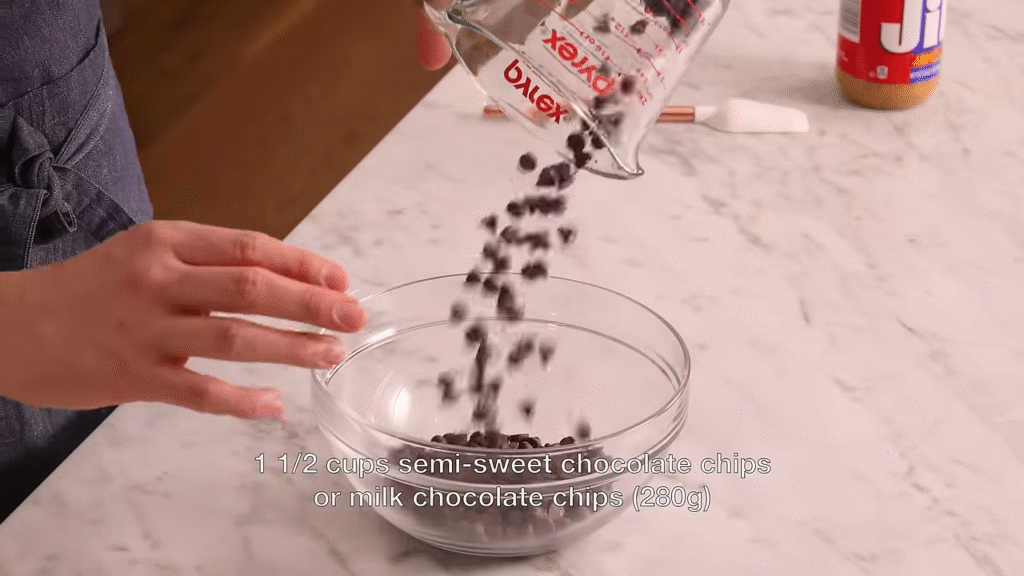
- 1 ½ cups chocolate chips (semi-sweet or milk chocolate)
- 2 tablespoons peanut butter (for the topping mix)
That’s it. Easy, right?
Step-by-Step Recipe Instructions
Step 1: Make the Peanut Butter Base
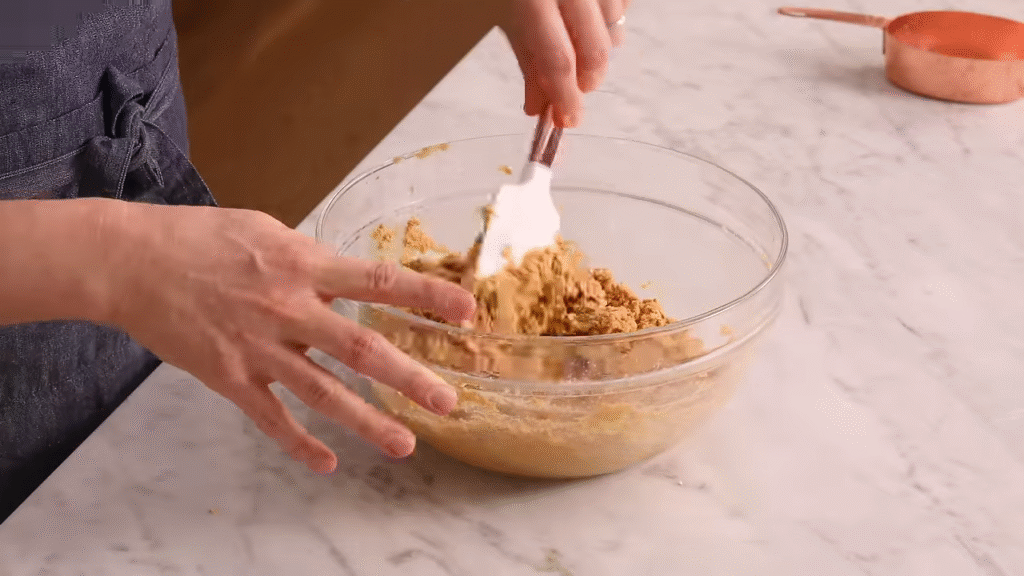
In a large bowl, mix together melted butter, peanut butter, powdered sugar, and graham cracker crumbs. Stir until everything blends into a thick, smooth mixture. This is going to be your soft, peanut butter layer. Spread it evenly in a lined baking dish.
Step 2: Melt the Chocolate Topping
Take your chocolate chips and 2 tablespoons of peanut butter, melt them together in the microwave or on the stove using the double-boiler method. Stir until smooth and creamy.
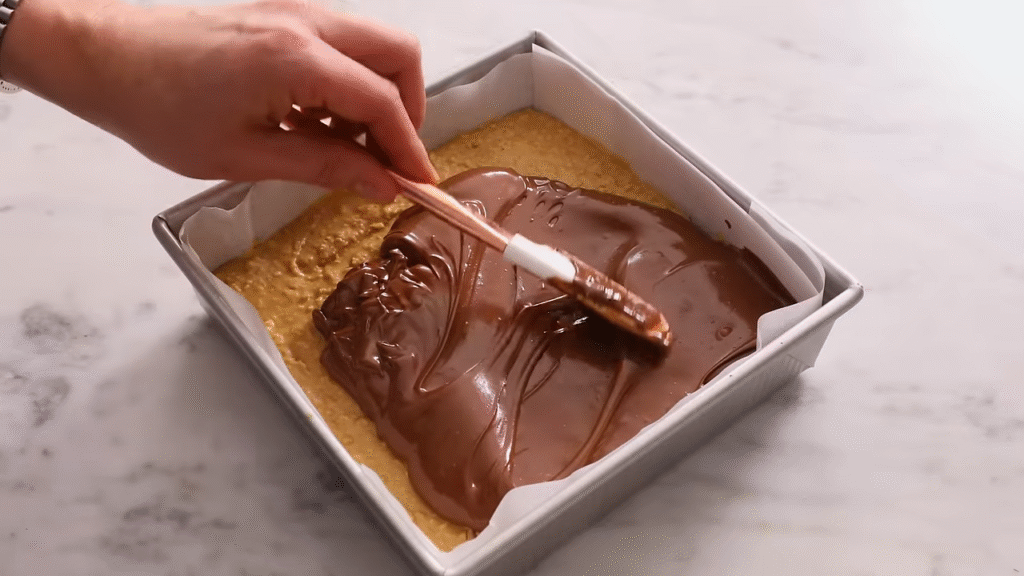
Step 3: Spread and Chill
Pour the melted chocolate mixture over the peanut butter base. Spread it evenly with a spatula. Place the dish in the fridge for at least 2 hours until the bars set nicely.
Step 4: Slice and Enjoy
Once chilled, cut into bars or squares. And that’s it—you’re ready to eat the most delicious homemade peanut butter bars.
Tips for the Perfect Peanut Butter Bars
- Use parchment paper in your dish so the bars lift out easily.
- For a crunchier base, use crunchy peanut butter.
- If you want less sweetness, reduce the powdered sugar slightly.
- Always chill long enough; otherwise, cutting gets messy.
Variations You Can Try
- Nutty Twist: Add crushed peanuts on top of the chocolate before chilling.
- Healthier Version: Use natural peanut butter and dark chocolate.
- Fun Toppings: Sprinkle sea salt, shredded coconut, or mini M&Ms.
How to Store Peanut Butter Bars
These bars stay fresh in the fridge for up to 1 week. Keep them in an airtight container. You can also freeze them for up to 2 months. Just thaw before eating, and they’ll taste just as good.
FAQs About Peanut Butter Bars
Q1: Can I use natural peanut butter?
Yes, but make sure to stir it well before using, as natural peanut butter has more oil.
Q2: Do I need graham crackers?
If you don’t have them, digestive biscuits or crushed cookies will work.
Q3: Can I make this dairy-free?
Yes! Use dairy-free butter and vegan chocolate chips.
Q4: My bars are too soft, what went wrong?
They probably didn’t chill long enough. Pop them back in the fridge for another hour.
Q5: Can I double the recipe?
Absolutely. Just use a larger baking dish.
Now, if you’re a fan of peanut butter and chocolate together, these bars will become your favorite too. Try them once, and you’ll keep making them again and again—I promise.