
Let me be real with you—I used to grab mint chocolate chip ice cream straight from the store. But every time, it either tasted too artificial or was loaded with things I couldn’t even pronounce.
So, I thought, why not try making it at home? The first time I made this, I was shocked at how fresh, creamy, and real the flavor was.
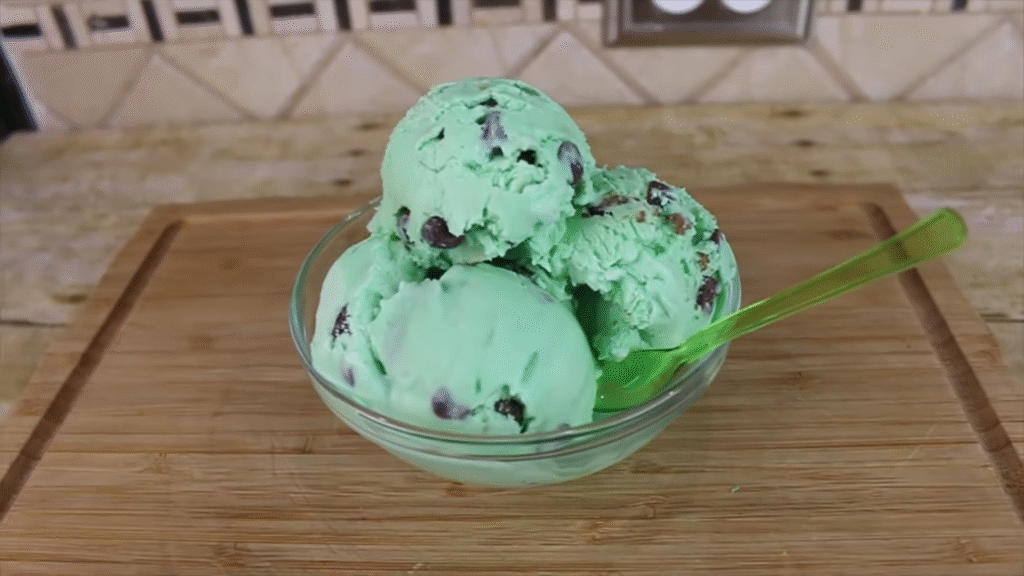
No fake green color, no weird aftertaste—just smooth minty cream with little bits of chocolate in every bite.
And trust me, once you make this, you won’t want the store one again.
Ingredients You’ll Need
Here’s the good part—you don’t need anything fancy. Just basic stuff from your kitchen.
- 2 cups heavy cream
- 1 cup whole milk
- ¾ cup sugar
- 1 teaspoon pure peppermint extract (not spearmint, trust me)
- 1 pinch of salt
- 1 cup chopped dark chocolate or chocolate chips
- Optional: a few drops of natural green food color if you want that classic green look
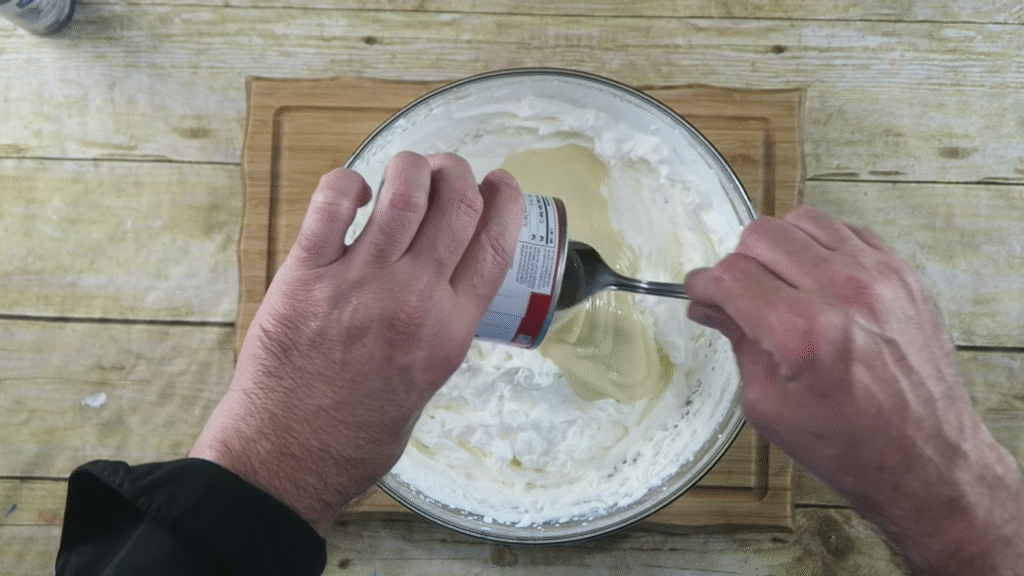
Step 1: Make the Cream Base
In a medium pot, mix the heavy cream, milk, sugar, and a pinch of salt. Heat it slowly on medium until the sugar fully melts.
Don’t boil it, just warm enough that everything blends smoothly. This will make your ice cream rich and creamy.
Step 2: Add the Mint Flavor
Once the base is warm, remove it from the heat. Stir in the peppermint extract. Taste it—this is your chance to adjust! If you want it stronger, add a tiny bit more. But don’t overdo it, peppermint gets strong fast.
Step 3: Chill the Mixture
Now pour the mixture into a bowl, cover it, and put it in the fridge for at least 2-3 hours. Cold base = creamy ice cream. Skipping this step can ruin the texture.
Step 4: Churn It Into Ice Cream
If you have an ice cream maker, pour the chilled mixture in and let it churn until it looks thick and creamy. If you don’t have one, don’t worry—I’ll explain the no-machine way below.
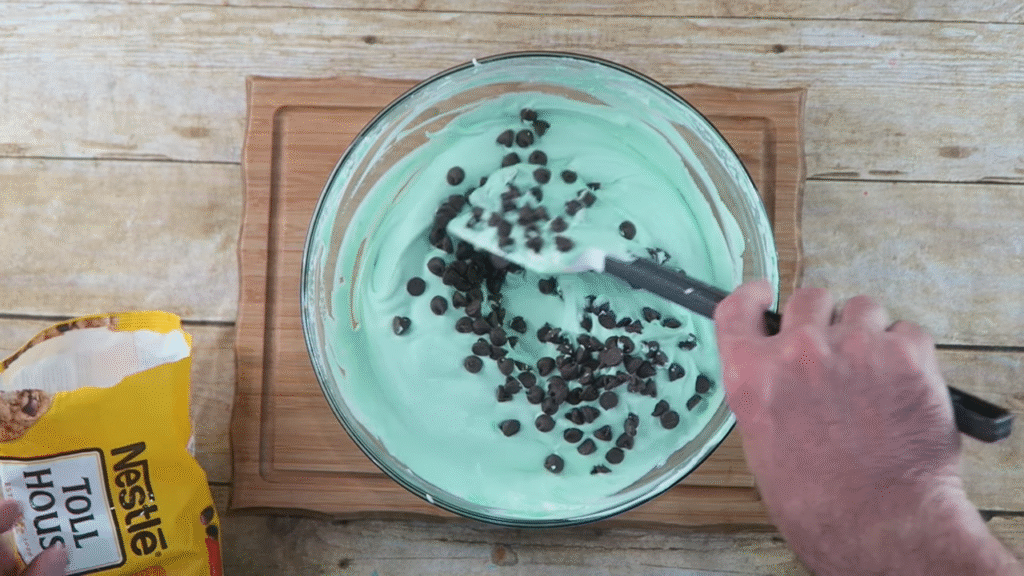
Step 5: Add the Chocolate
When the ice cream is almost done churning, add in your chopped chocolate or chips. Mix it well so every spoonful has a little chocolate surprise.
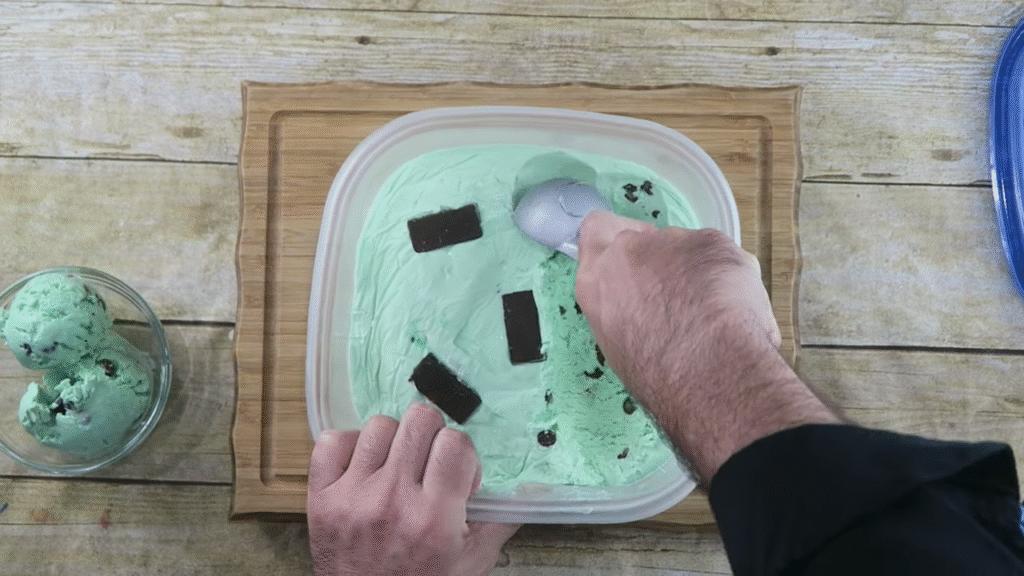
Step 6: Freeze and Serve
Transfer the ice cream into a container, smooth the top, and freeze it for about 4 hours or overnight. When it’s firm, scoop it out and enjoy your homemade mint chocolate chip masterpiece!
No Ice Cream Maker? No Problem
If you don’t own an ice cream maker, here’s the trick:
- Pour the chilled mixture into a freezer-safe bowl.
- Put it in the freezer. Every 30–40 minutes, take it out and stir it hard with a fork or whisk.
- Do this 4–5 times until it gets thick and creamy.
- Add chocolate pieces in one of the last mixes.
It takes a little patience, but it works!
Tips to Make It Even Better
- Use real peppermint extract (not artificial mint flavor).
- If you love crunchy chocolate, use chopped chocolate instead of chips—it melts in your mouth better.
- Want it creamier? Add one more egg yolk to the base before heating (optional but amazing).
- Don’t add too much food color. A few drops are enough.

FAQs About Mint Chocolate Chip Ice Cream
Q: Can I use skim milk instead of whole milk?
A: You can, but it won’t be as creamy. Whole milk makes a big difference.
Q: How long does it last in the freezer?
A: About 2 weeks in an airtight container. After that, it can get icy.
Q: Can I use spearmint instead of peppermint?
A: I don’t recommend it. Peppermint gives that classic ice cream taste. Spearmint will taste more like toothpaste.
Q: Do I really need an ice cream maker?
A: Nope! It makes it easier, but you can do the no-machine method I explained.
Q: Can I make it dairy-free?
A: Yes! Use coconut milk and coconut cream instead of milk and cream. The flavor will change a little, but it’s still delicious.