
I’ll be honest with you—this vanilla icing recipe came from one of those “oops” baking days. I was making a cake, ran out of store-bought frosting, and had to come up with something quick.
To my surprise, this simple icing turned out even better than what I usually buy. It’s smooth, sweet (but not too sweet), and you can make it in just a few minutes with things you already have at home.
If you love simple recipes that actually taste amazing, you’re going to love this one.
Why You’ll Love This Vanilla Icing
Icing can make or break a dessert. This one? It’s the kind of icing that makes you want to lick the spoon (and maybe the bowl too). It’s:
- Quick – ready in about 5 minutes.
- Simple – no fancy tools or hard steps.
- Tasty – creamy, smooth, and perfectly sweet.
Whether you’re making cookies, cupcakes, or a simple sheet cake, this icing is a winner.
Ingredients You Need
The best part? You probably already have everything in your kitchen. Here’s what you’ll need:
- 1 cup powdered sugar (confectioners’ sugar)
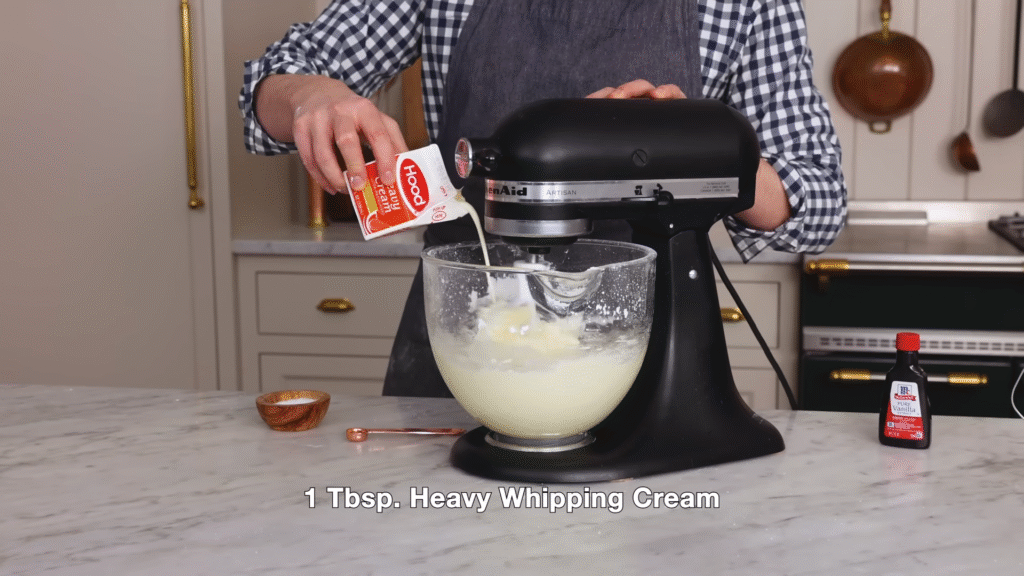
- 2 tablespoons milk (any kind—regular, almond, oat, etc.)
- 1 teaspoon vanilla extract
- 1 tablespoon butter (softened, optional but makes it richer)
- A tiny pinch of salt (balances the sweetness)
That’s it! Just five simple ingredients.
How to Make Vanilla Icing (Step by Step)
Here’s how I do it—super quick and easy:
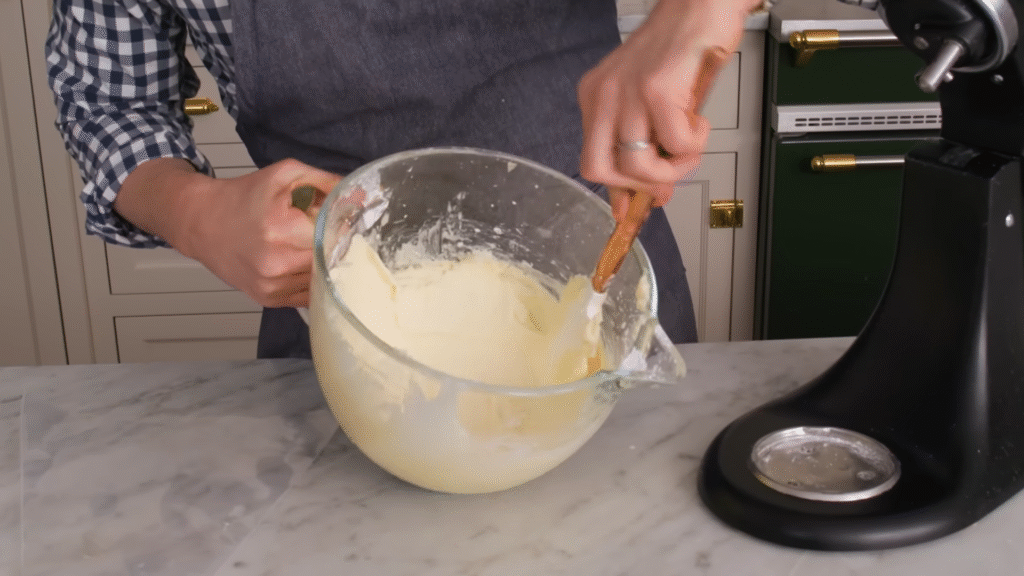
- Mix sugar and butter – In a medium bowl, whisk powdered sugar with softened butter until smooth.
- Add milk – Pour in milk, one spoon at a time, and keep mixing until it looks creamy.
- Add vanilla – Stir in vanilla extract for that sweet aroma and flavor.
- Adjust consistency – Want it thicker? Add more sugar. Want it thinner? Add a little more milk.
That’s it—you’re done! No mixer needed (unless you want to). Just a spoon and a bowl.
Tips for the Best Icing
- Sift the sugar if you don’t like lumps.
- Use real vanilla extract (not imitation) for the best flavor.
- Chill it a little if you want it to firm up more on cakes or cookies.
- Double the recipe if you need extra for a layered cake.
How to Use Vanilla Icing
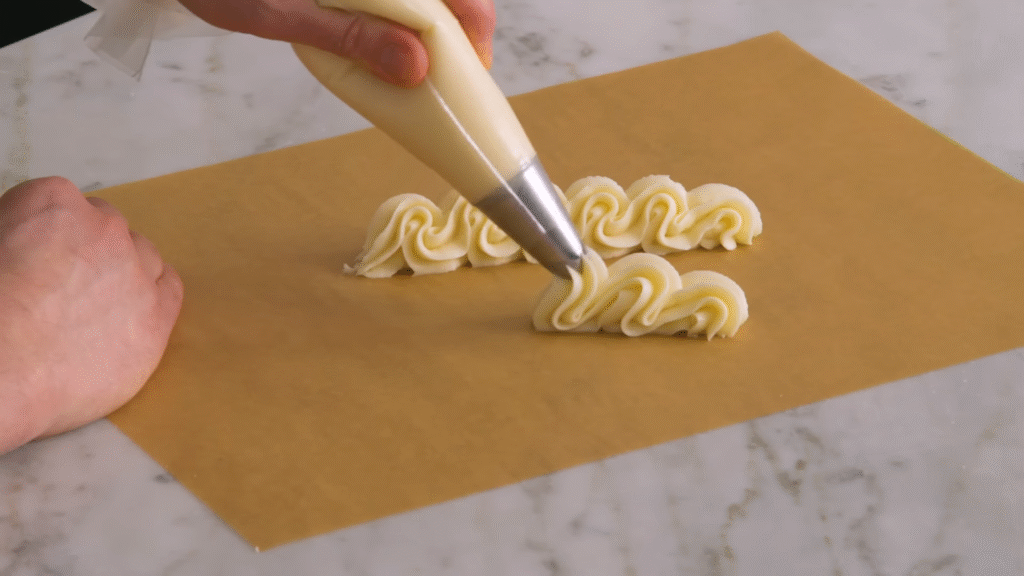
This icing is super versatile. I use it for:
- Drizzling over cookies.
- Spreading on cupcakes.
- Pouring over cinnamon rolls (oh yes, so good).
- Adding a sweet finish to muffins or brownies.
Basically, anywhere you need a quick, sweet topping—this icing works.
FAQs About Vanilla Icing
Q: Can I make this icing ahead of time?
Yes! Store it in the fridge in an airtight container for up to 3 days. Just stir before using.
Q: Can I make it vegan?
Totally. Use plant-based milk and skip the butter or use vegan butter.
Q: My icing is too thin—what do I do?
Add a little more powdered sugar until it thickens.
Q: My icing is too thick—how do I fix it?
Add a splash of milk, just a little at a time, until you get the texture you like.
Q: Does it harden on cookies?
Yes, it firms up a little as it sits, but stays soft enough to bite into.
That’s my go-to vanilla icing recipe—quick, simple, and always delicious. If you try it once, I promise you’ll never want to go back to store-bought icing again.